Adding a note
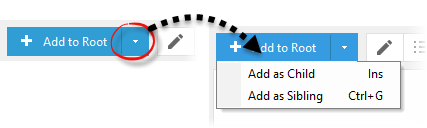
The easiest way to add a new note is to click on the New Note button from the tool bar. This adds a note to the root of a currently active tree.
![]()
If you need to create a child or sibling note then click on arrow button next to New Note and select Add as Child or Add as Sibling option.
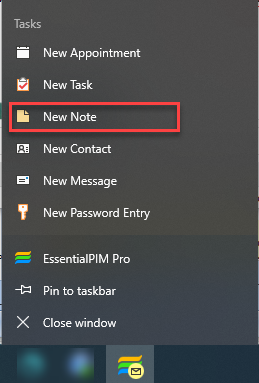
EssentialPIM allows you to add a new note quickly even when it is minimized. This can be done by right-clicking on the EssentialPIM icon in the taskbar and selecting the New Note option from the menu that appears.
This opens the Note Info dialog window.
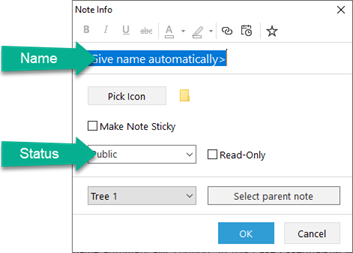
Name - enter the note’s name or use the default <Give name automatically> option. In this case EssentialPIM will use the first sentence of your note as its name.
Pick Icon - choose an icon for the note.
Status - allows to set the note either private or public. This can also be used in EssentialPIM Business to assign records to specific users. More details here.
Read only - prevents editing the note.
Make Note Sticky - makes a note sticky, in other words creates its copy on the desktop. Find more here.
A drop-down list with the current tree name and the Select parent note button allow you place the note directly to where needs to be in the existing notes structure.
The toolbar at the top supports basic formatting for a note’s name.
Click the OK button to add the note to the active tree.
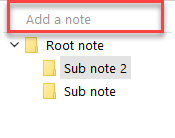
Another way to add a note is by using the Add a note field
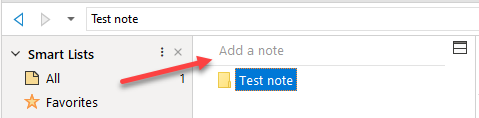
Simply type the name of the note and press Enter. The note will be created in the currently active tree.
|
Ctrl+R - shortcut to add a new note. |
Notes Lists
EssentialPIM stores notes in lists. By default, all new notes are created in the List 1. If you need to add a new list or edit an existing one, right click on a list and select the appropriate option.
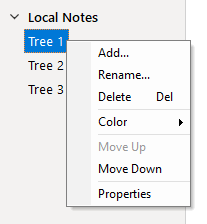
Add - creates a new list.
Rename - allows you to rename current list.
Delete - deletes current list with all its notes.
Color - allows to change the color of the list.
Move Up/Down - changes the position of a list. Alternatively, you can also move lists by dragging and dropping them.
Properties - opens a dialog where you can edit a list.
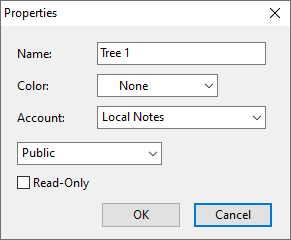
Account - allows you to move a list to another account
Status - allows to set the tab either private or public. This can also be used in EssentialPIM Business to assign records to specific users. Refer to the Assigning items topic for more details.
Read only - when enabled all the notes in the tree become read-only.
Adjusting Notes view
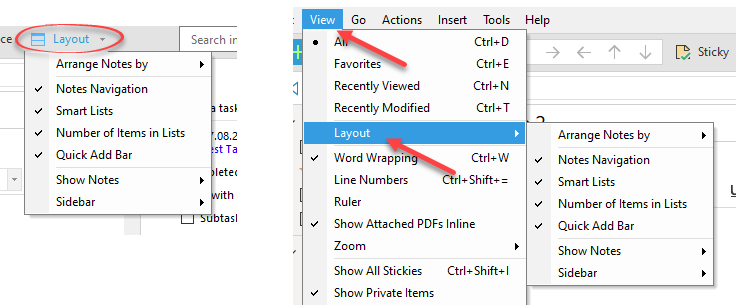
EssentialPIM allows you to customize the Notes view to suit your needs using the Layout settings. The Layout menu can be accessed by clicking the Layout button in the toolbar or via View -> Layout.
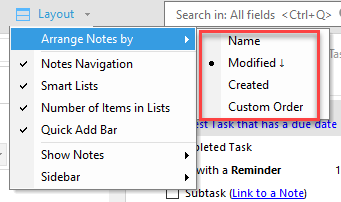
Arrange Notes by allows arranging records by Name, Created and Modified dates. Arrow icon next to arrangement option indicates sorting direction. Custom Order option switches back to your manually defined notes order.
Notes Navigation option enables a panel, which displays the path of the currently selected note.
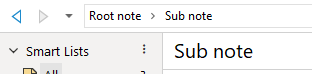
Clicking any note name in the path will switch focus to that note. Use the arrow buttons to navigate between recently accessed notes.
Smart Lists provide a convenient way to quickly access specific groups of notes. EssentialPIM includes four predefined Smart Lists, which can be enabled or disabled from the Smart Lists section menu:
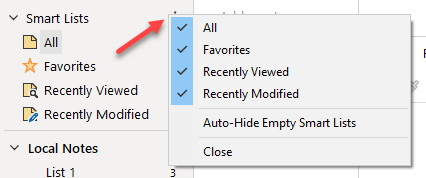
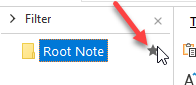
You can bookmark your favorite notes and access them quickly in the smart lists pane.
Recently Viewed and Recently Modified lists track notes from the past 30 days, displaying up to 25 items each.
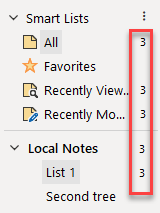
Number of Items in List option toggles the display of note counts for each list:
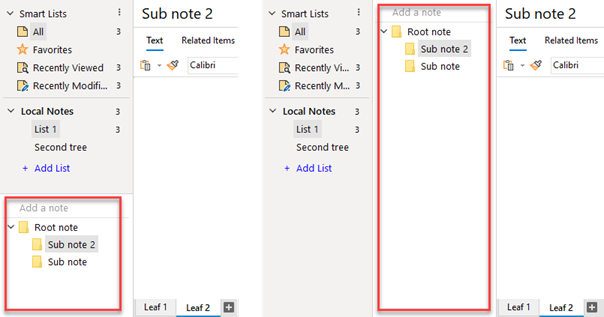
Quick Add Bar option toggles Add Note line in the notes list section. Disabling it provides a cleaner interface.
Show Notes -> Below/Beside Lists menu allows choosing whether the notes list appears below the Smart Lists and Lists panels or beside them in a separate column.
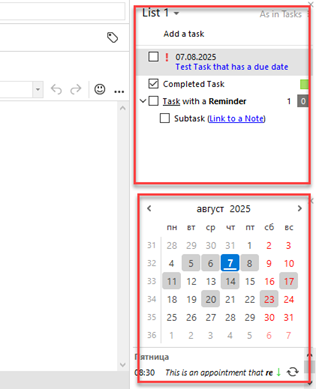
Sidebar -> Tasks/Calendar options toggle the sidebar panel with a minimized version of the Tasks module and a calendar showing upcoming events.
|
A new list can also be created under Actions -> New List. |
Managing Notes
Notes can be organized into hierarchical structures. Creating child or sibling notes was described earlier, but you can also change existing notes structure. The fastest way is to drag & drop a note to a desired location.
You can also move notes in the tree by using the corresponding buttons from the tool bar.
![]()
Arrow buttons move selected note(s) across the tree.
![]()
Collapse All and Expand All (or "-" and "+") buttons allow to expand or collapse the whole notes tree with just a single click.
|
If a note has child items, they will be moved along with it to preserve the structure. |

|
Separate notes as well as structured sets of notes can be moved between trees using drag & drop. Select a note and drag it onto the target tab name, then, once the tab becomes active, move the note to the desired position. Notes can also be moved using standard Cut and Paste. |
|
Ins - creates a child note beneath the selected note. |
Creating an event from a note
It is possible to create an appointment or a task directly from the note contents. Select a text fragment, right click on the selection and choose Create -> Appointment/Task.
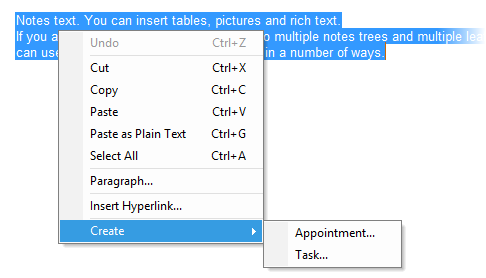
This opens the appointment/task edit dialog. The Notes field will be filled in with selected text fragment. A new event will be created using the default template. If you are creating a task, it will be added to the root of last active list.